My Ford F-250
From now on, I'm going to be putting all truck-related stuff in the Vehicles category on my blog.
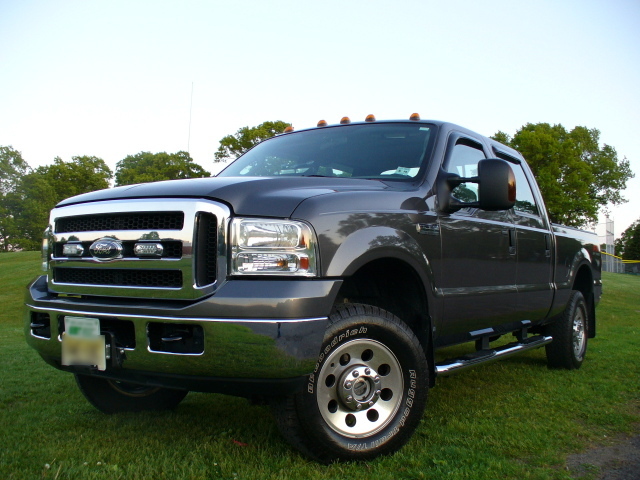

A few photos an information on my 2005 Ford F-250 CC XLT FX4.
Contents |
Installation Procedures
Factory Upfitter Switches
The 2006 Super Duty comes with four factory upfitter switches installed, with relays and fuses. The relay unit is behind the glove box, and well documented lonline. However, some other parts are not. The four wire pigtails with power from the relays are behind the fuse panel under the steering wheel. To access them, pull off the trim panel to expose the fuse panel, remove the fuse panel (held in by 4 bolts, you need to pull up on it a bit to wiggle it out). With the fuse box out of the way, they will be to the left side attached to one of the wiring harnesses, and should have white tape around them, marked "CUSTOMER ACCESS WIRES". They're short - I highly recommend an automatic-type wire stripper to make them usable. There are also four wires run through the firewall - they pop out under the hood near the windshield on the driver's side, at the top of the engine compartment. They are tied to a main wiring harness with white tape. On the inside of the cab, they are way up under the dash, near the outer driver's side of the vehicle, again tied to a wiring harness with white tape. The fuses for the four accessory switches are in the panel under the steering wheel, and marked in the owner's manual.
Grill Removal
Take out the four bolts at the top of the grill. Bend forward slightly. If you look at the inside of the grill, near the bottom, there are five clips holding it onto the bar that runs along the bottom of the grill. Reach in with a flat-tip screwdriver and press down on the top of each clip, it should pop out. Repeat for all five clips, and the grill will be free.
Lighting
Original
- Whelen Dual Talon dash light B/B
- Whelen 500-series Linear Super-LED (Smart - sync together, builtin patterns)
- Rear deck - halogen wig-wag flashers
- Whelen Power Air Horn Plus
Current
- Whelen Dual Talon dash light B/B
- Whelen 500-series Linear Super-LED (Smart - sync together, builtin patterns)
- Whelen LIN3's on License Plate Bracket from 10-75 Lighting
- Rear deck - custom (cheap) LED strip
- dual TIR3's on either side of the rear license plate
- Unitrol 80K Siren/Air Horn (siren not connected), 2x 100W speakers (one under hood, one in front bumper)
In the future
- Strobes - front corners and rear lights
- LEDs in side rear windows and/or under doors above running boards
Photos
Update 2007-11-20
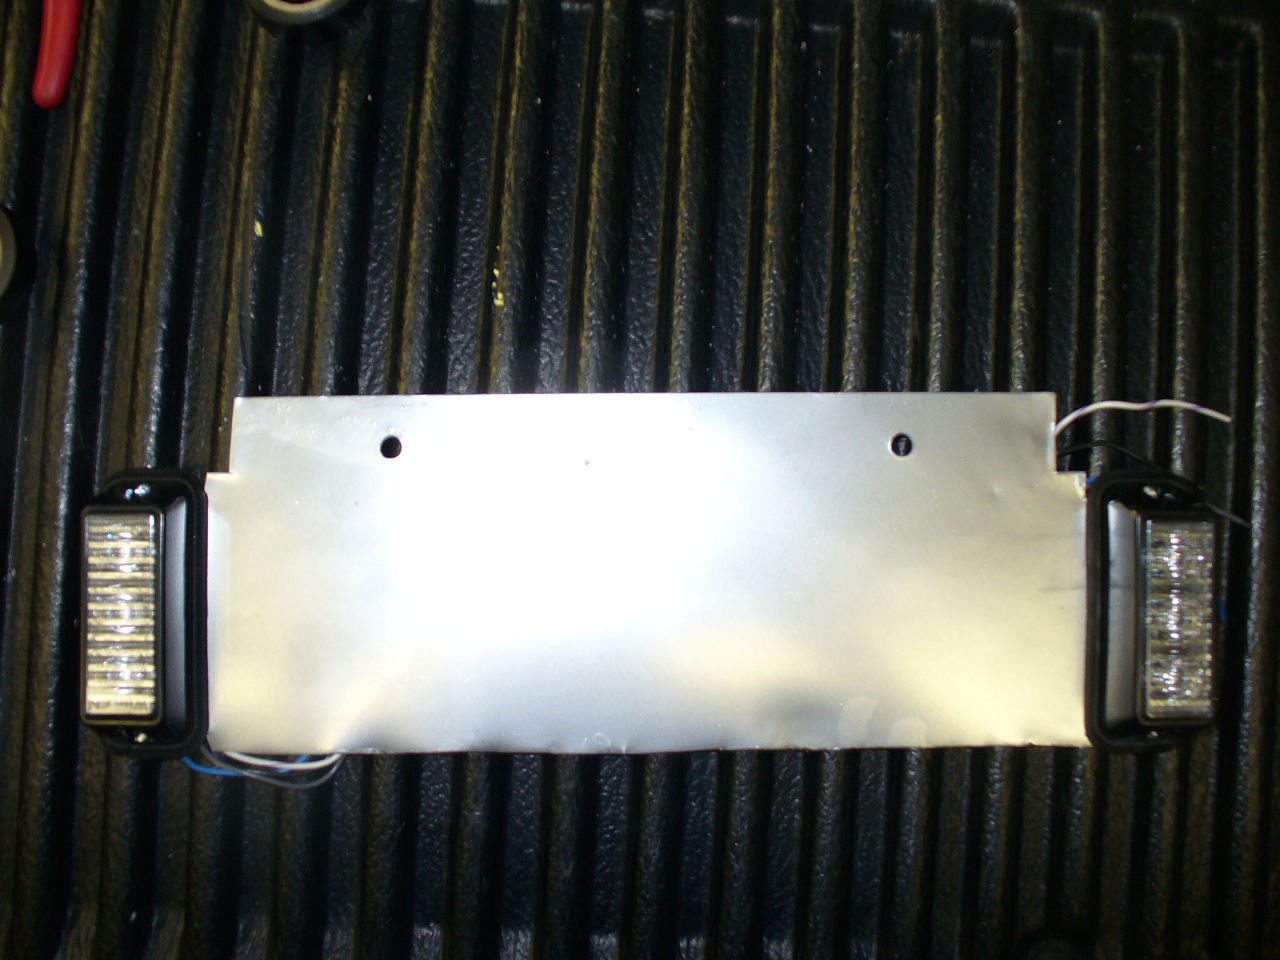
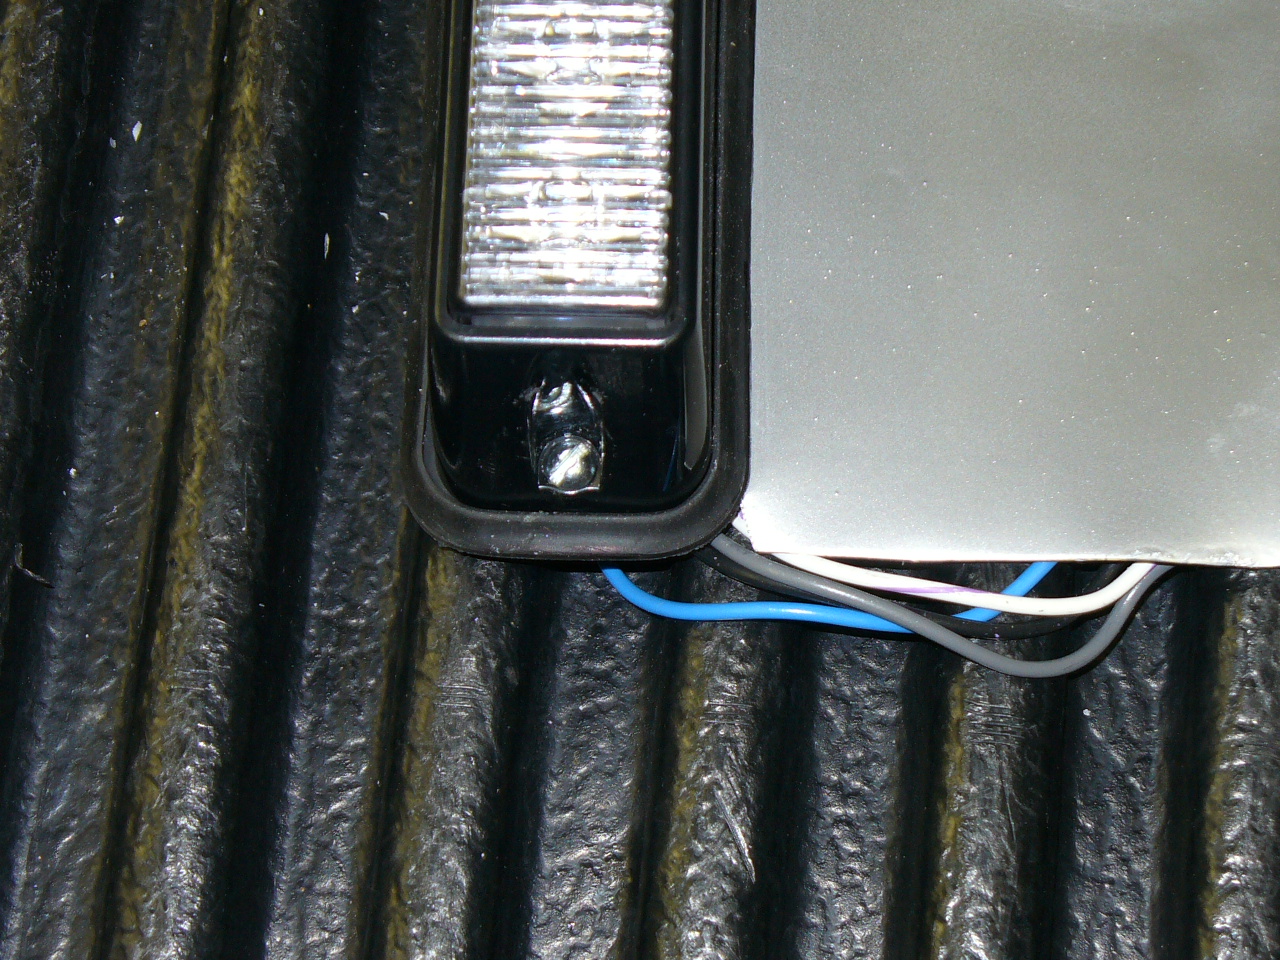
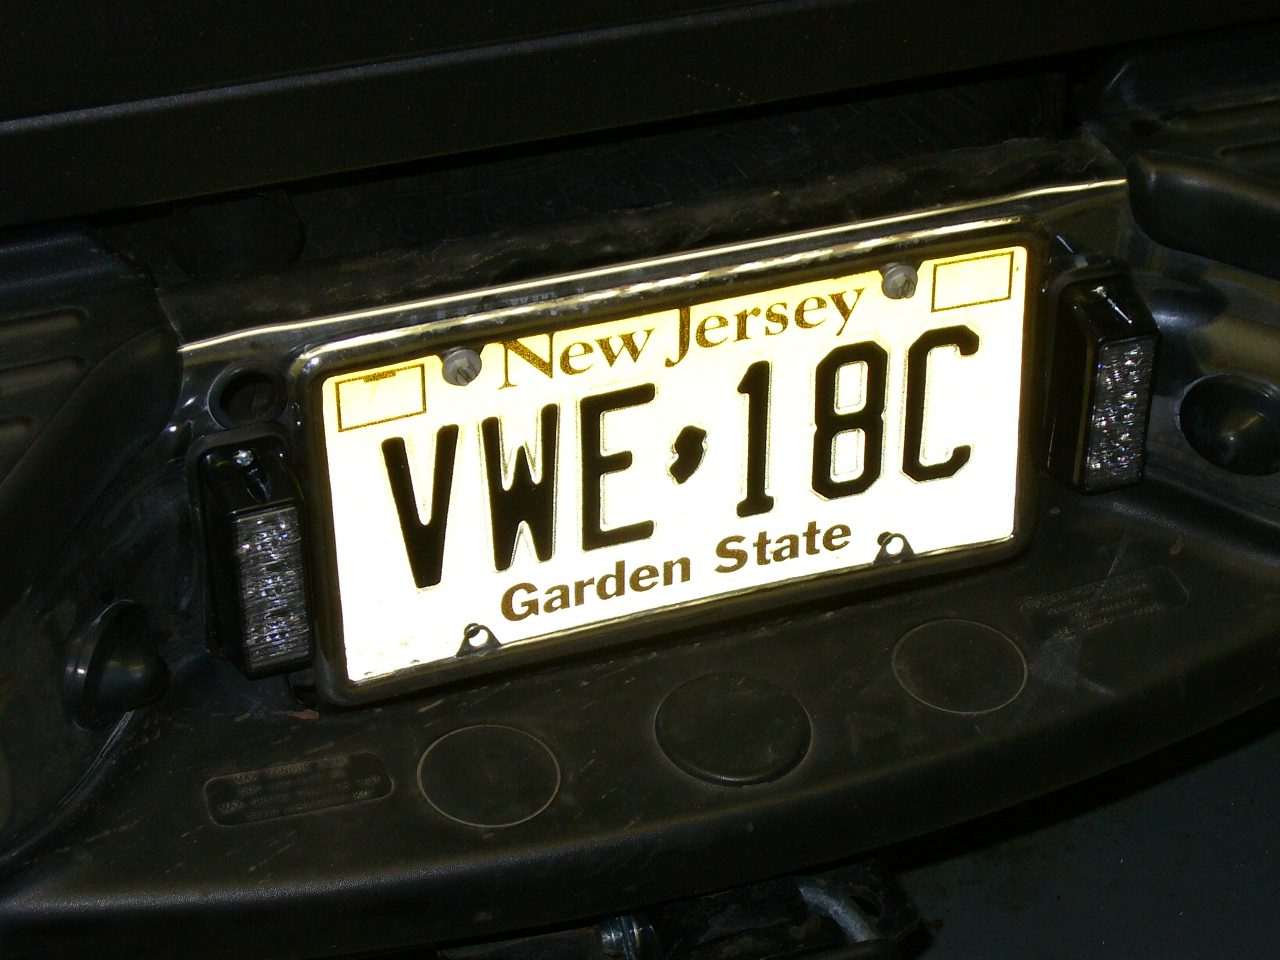
First of all, since I last updated the photos, I've switched out the rear deck halogens for a custom LED strip (made from $7 chinese LEDs, and previously installed in my old jeep as a supervisor-style bar). Today, after realizing that the LED strip is useless during the day, I added a set of blue TIR3's on either side of the rear license plate. I decided to save some money and build the bracket myself - the only problem is that the LEDs block the factory license plate illumination - something that I'll have to deal with soon.
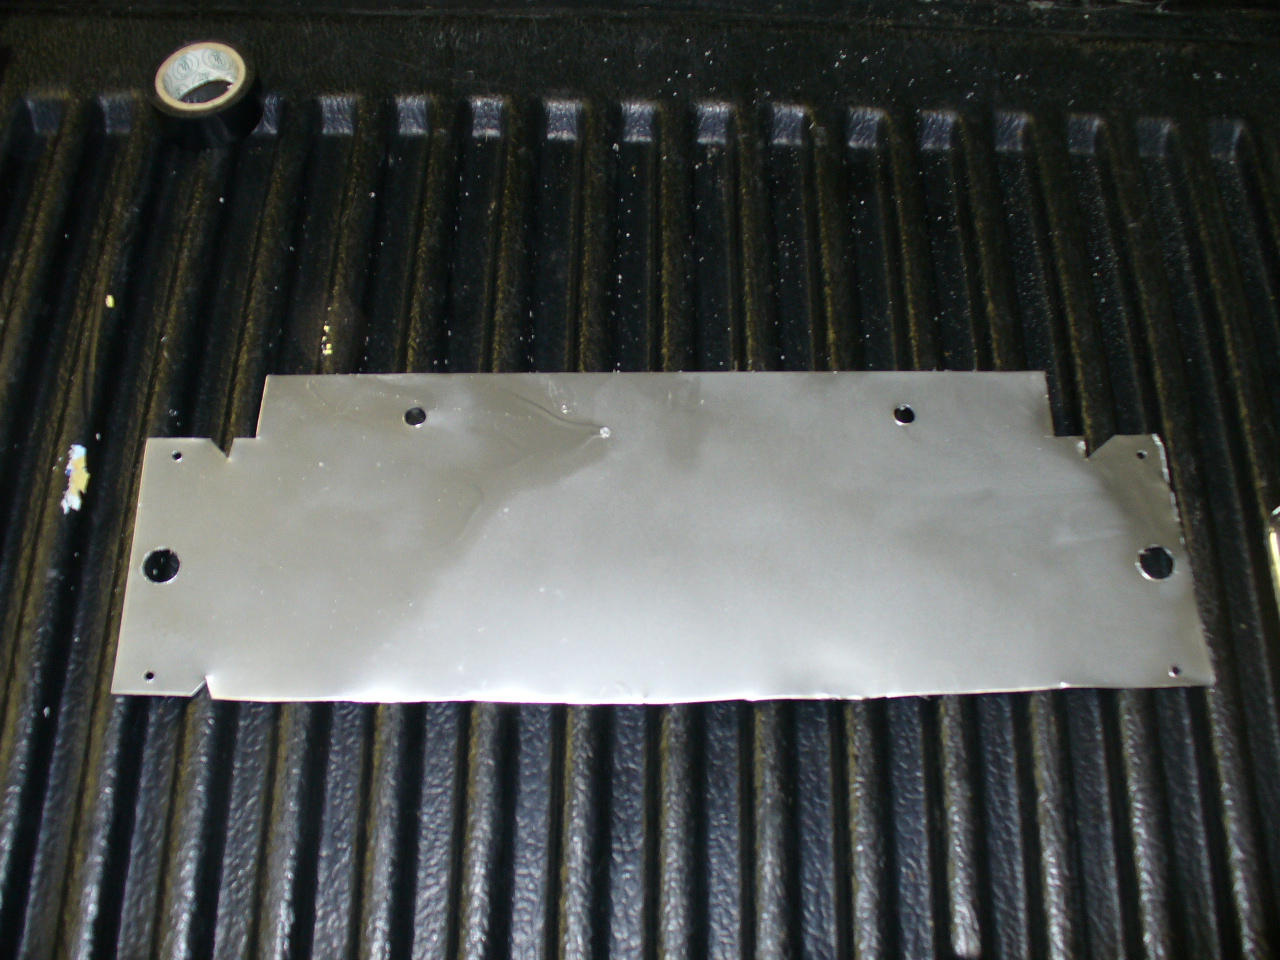
Fabrication: A dealer wanted $35 for a rear license late bracket that was nothing more than a piece of flat steel bent, some holes drilled, and powder coated. Not only did I think this was a ripoff, but I don't like powder coated black on a stainless bumper. I went to Sears and bought an 8x18" 22-ga piece of weldable steel (I wanted aluminum, but they were out). I spent some time measuring and laying things out on graph paper, but when it came time to actually fabricate, I decided to just do it. I did a rough layout with the license plate and rubber gaskets from the LEDs. I then lined up the plate at the top of the sheet and drilled screw holes, placing bolts on them to hold the plate in place. I then laid out the LEDs, first drilling 1/2" holes for the wires and passing them through, then drilling the screw holes. I drilled the screw holes with the LEDs fully in place, drilling through the hole in the LED, bolting that end on, then drilling the other end. Obviously, you need a good drill press and clamps to do this without risking damage to the LED. After drilling, I traced the outline of all parts with a Sharpie marker. I removed everything and cut the excess away (NOT easy with 22ga steel and only hand shears, especially when you need to make a 14" cut. If you've never done it before, remember to cut small pieces at a time - it makes it a lot easier, and also reduces bending). I also made small V-shaped cuts where the radius of the LED would leave some metal exposed. I finished the edges with a 5" grinding wheel, to remove any excess that would show around the parts, and then removed any bending by plain old hammering on an anvil. Last - spray paint with a good rust-inhibiting paint.
All in all, it cost me about $10 in parts, plus $20 for a 1/2" titanium drill bit and $25 for a set of hand shears that could handle 22ga steel - though my set of Wiss tin snips worked fine for the small V-cuts.
Wiring: I still had one free factory pass-thru wire in the firewall. I simply tapped that into my existing rear light wiring under the dash. I then spent half an hour sleeving a 30-foot length of 10-gauge red wire with flame-retardant 1/4" slit loom. I ran the wire from the firewall pass-thru down behind (aft of) the driver's side front wheel well, along the lower inside part of the body, then across to the driver's side frame at the front of the fuel tank. I followed the trailer wiring in the frame from there back, making a small hop around the spare tire. The wire finally came out through the big hole in the bumper behind the rear license plate. I tied ground into the factory trailer wiring harness with a small tap, covered with liquid electrical tape. When the LEDs were wired on the bracket, I just brought everything back to a set of power/gnd wires on 16ga zip cord, and tied that into the power and ground coming through the bumper.
Video of rear lighting at night:
P1010179.MOV
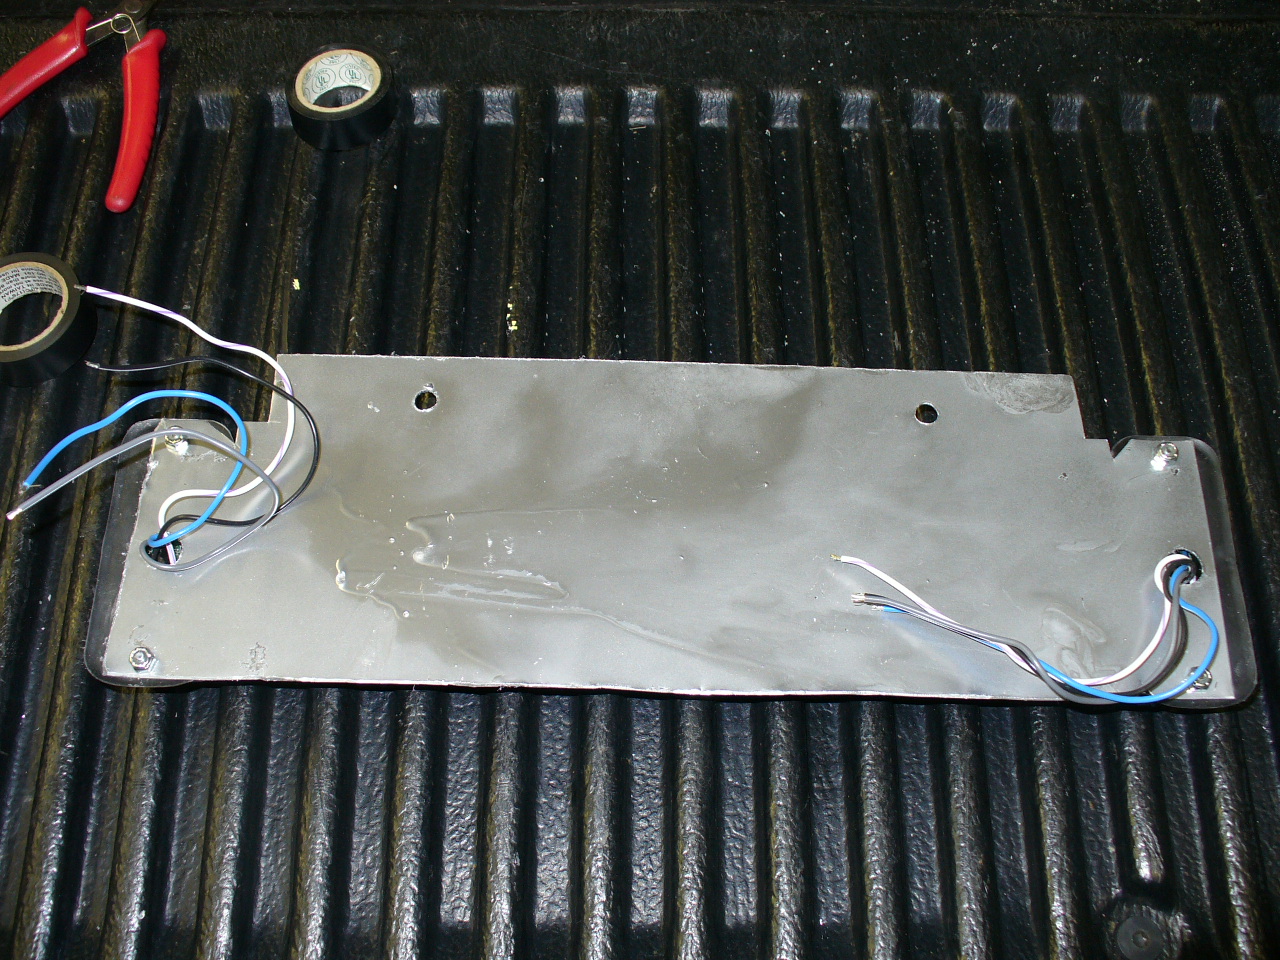
The bracket when finished with fabrication:
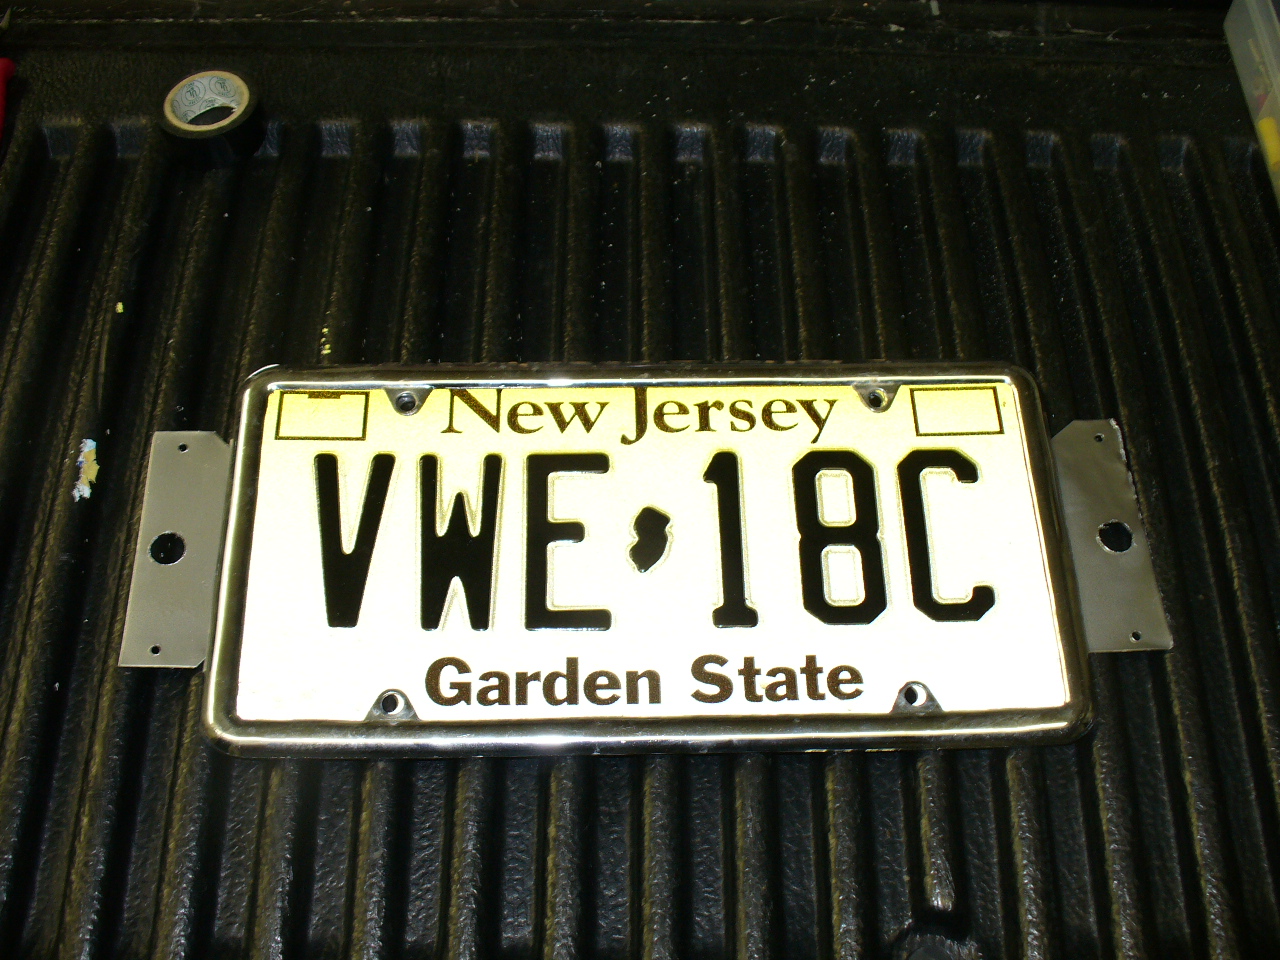
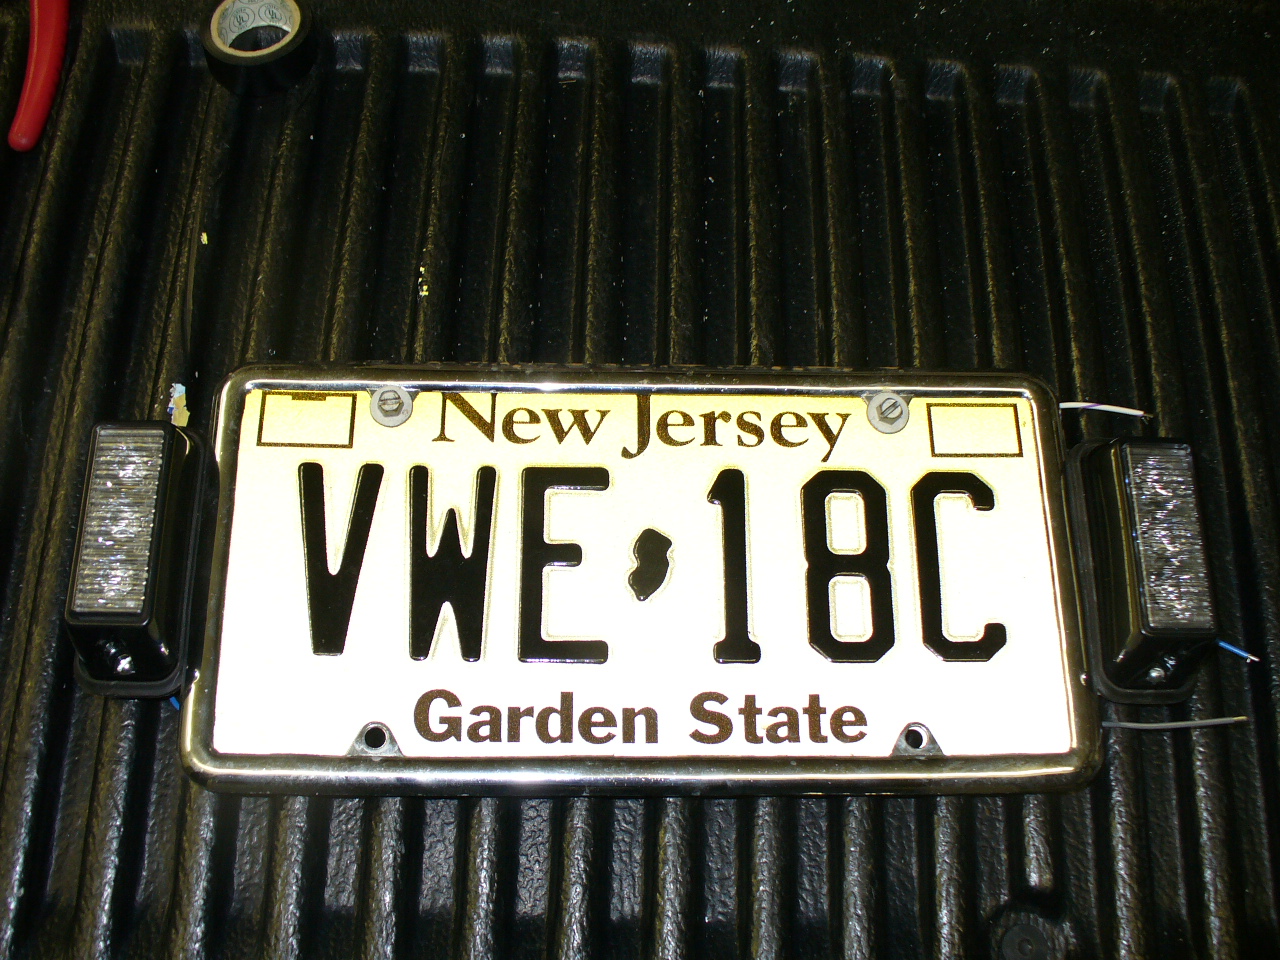
View of the bracket with the plate on the front:
Bracket with the LEDs installed:
Closeup of the left side LED mounted on the bracket:
Finished assembly, ready to be wired. I just wired everything together on the back, then fed in the power and ground wires through the big hole behind the license plate:
The finished assembly, ready to be wired:
Finished product:
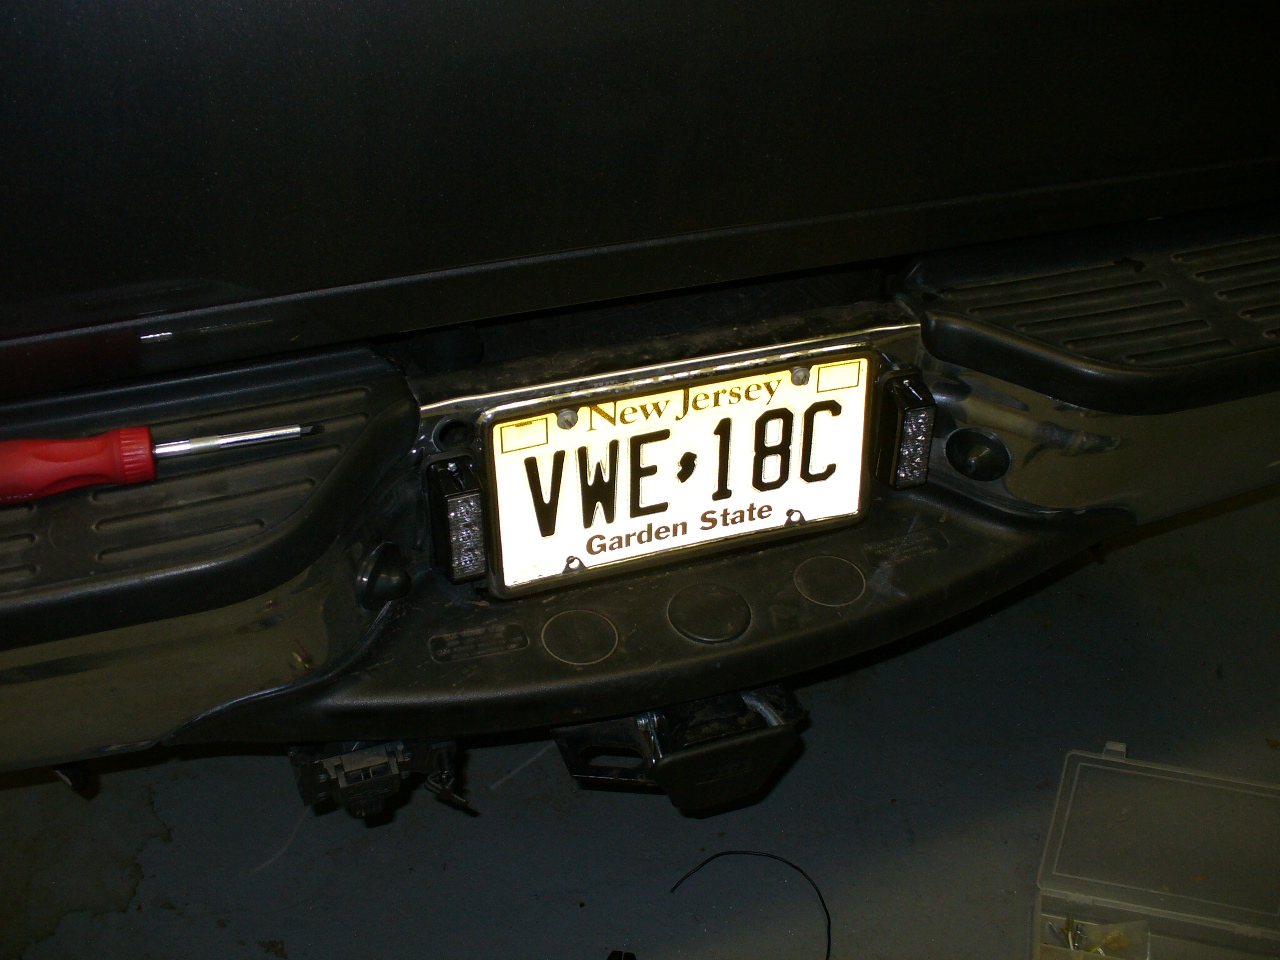
Closeup of the finished product:
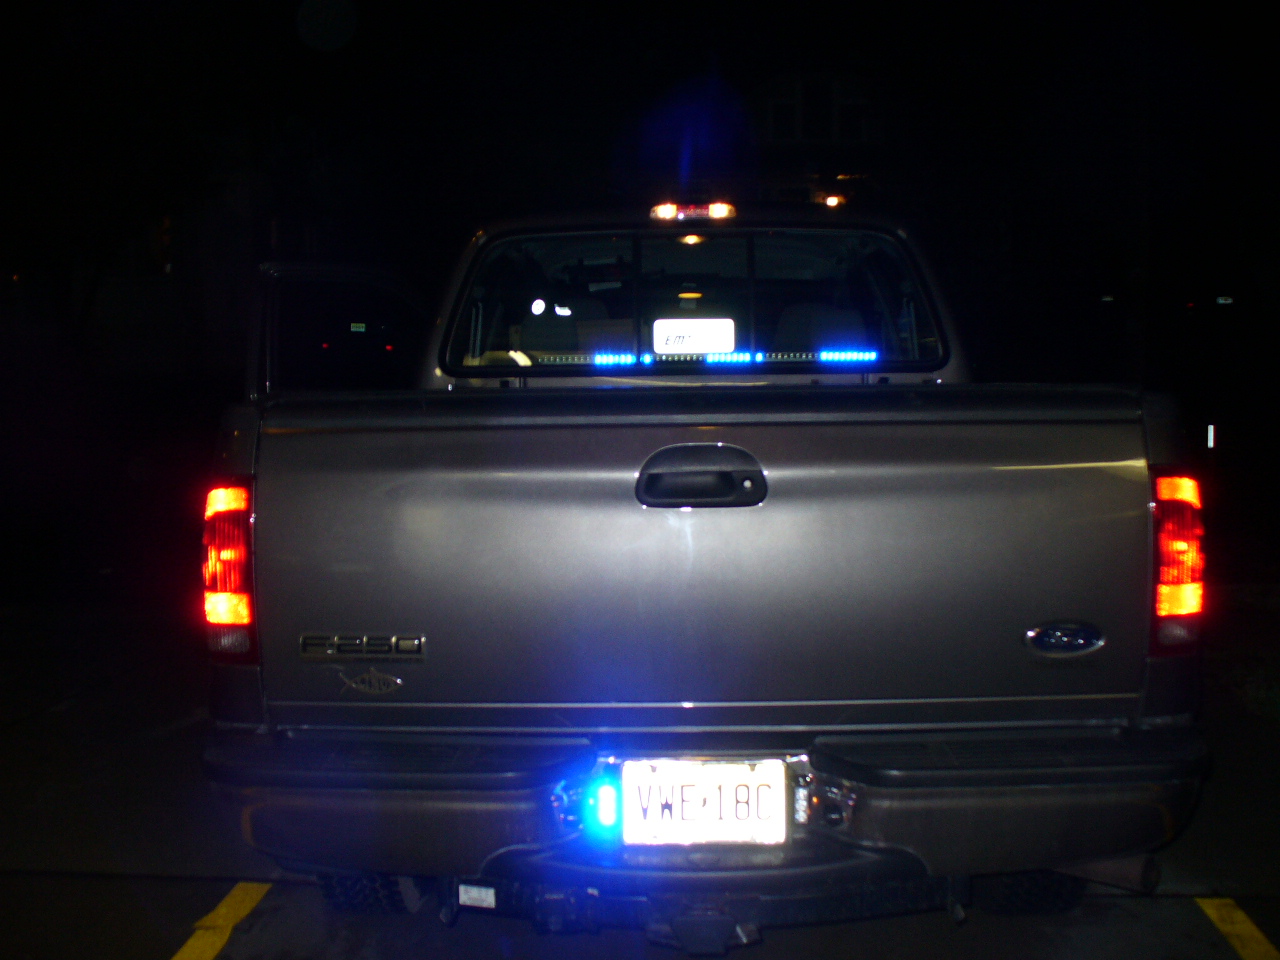
Final view of the truck, lit at night, with the new TIR3's around the license plate:
Original Installation

Whelen Power Air Horn Plus installed behind the rear seat, a perfect fit. Wires are routed down through the cavity in the door sills and up behind the parking brake. I used two of the through-firewall wires for the speaker. Strobe cables came in handy, as they have the right connectors, heavy guage wire, and are easier to work with than a bundle of individual wires.
Update- this has subsequently been replaced with a Unitrol 80K siren. I don't use the siren features (not legal for anyone other than principal officer or second-in-command here in NJ) but think that the tone is much more... attention-getting. Also, it has a maximum output of 200W, so I'm ready when I get another speaker.

Wires being routed from air horn box through door sill.

... and up to the front, along with a zip-cord for the rear lights.

Air horn and rear light wires coming up from the door sill and behind the parking brake. From here, they're connectd to ground, positive from the ACC 2 switch, and the two wires through the firewall. For now, I have a pushbutton switch hanging out from the dash to trigger the horn, until I order the foot switch.

Another shot of wire routing around the back of the parking brake assembly.

Upfitter wires as they emerge under the hood.

Air horn speaker bolted to a factory hole in the body, just above the front driver's side wheel well.

Another shot of the speaker, pre-connection.

Truck with grill removed for LED installation.

LEDs fit to the grill. They are held on with 2-1/2" stainless bolts. I cut pieces of 1" wide aluminum bar, about 1-1/2" long to use as backings for the bolts.

Testing the LED wiring.

LEDs on grill installed on truck, ready to be wired in. I used one other factory wire through the firewall for these.

Unfortunately, you can see a bit of the slit loom for the LED wires as it passes behind the grill, down, and through into the engine compartment behind the headlight.

Rear of truck with halogen flashers placed behind headrests. These will be replaced with LED heads in the future.

Closeup of driver's side halogen.

Halogens lit at night. They are run off of a cheap Galls wig-wag flasher.
Movie (2.8 Mb)

Front of truck at night - LEDs in grill and dash light.
Movie (7.3 Mb)

Closer view of front lighting.
Movie (6.7 Mb)

Closeup of the factory upfitter switches.

Factory upfitter switches with the temporary air horn button. The button is on a three foot lead which is stuck in the storage compartment with the horn switch sticking out. Pull the storage compartment open, and the lead is long enough to hold the button while driving with both hands on the wheel.

Daytime front shot of the truck - two 500 Linear LEDs in the grill and a Dual Talon on the dash, set to the same flash pattern (but not syched).

Closeup of front lighting.

Rear view.

Closeup of rear halogen flashers.

In the dealer's lot, on the day of closing the deal.